5 Tips to Build a Shop You’ll Actually Want to Work in Every Day
A shop designed for daily use should support focus, efficiency, and long hours without becoming a headache. If designed correctly, the structure itself can influence work productivity, comfort, and the ability to accommodate growth over time.
Builders, such as Greg Henderson, often create spaces that work as hard as they do. These five tips highlight what matters most when designing a shop built for real-world, ongoing use.
1. Design for Comfort Over Long Workdays
Fluctuating temperatures, humidity, and poor airflow can wear down productivity fast, so consistent conditions make a meaningful difference during long working hours.
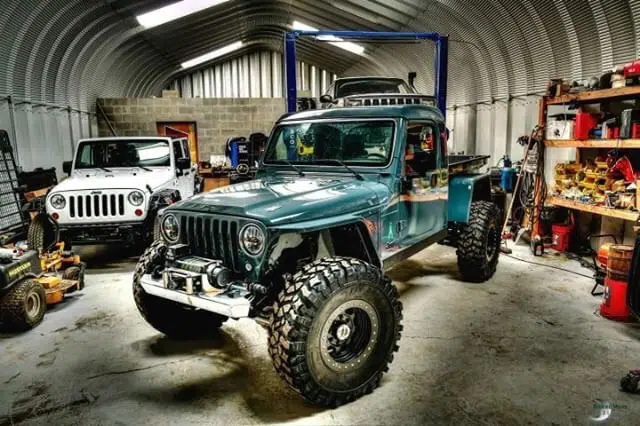
Greg, who does custom vehicle builds for his business Unofficial Use Only, has worked out of his Michigan shop for over a decade. During that time, the structure has held up without visible deterioration through the state’s harsh winters and humid summers.
“There’s no visible sign of rust anywhere, not around the bolts or anywhere else. The base plates are perfectly fine,” Greg said.
Design Tip: Achieve climate control using insulation, proper ventilation, and reliable heating or cooling systems.
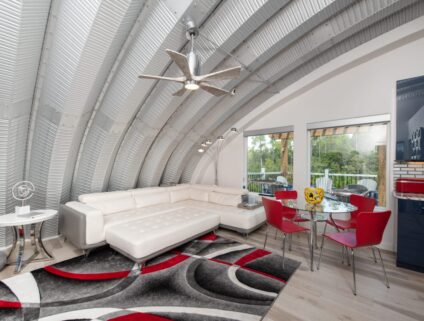
2. Use Natural Light to Reduce Fatigue
A workspace with abundant natural light feels more open and inviting, reduces eye strain, and makes detailed work easier to perform. Bright, evenly distributed light improves visibility and keeps energy levels higher.
In Greg’s shop, ten skylights bring light in from multiple angles, keeping the interior bright throughout the day.
“During the day, you really don’t even need additional lighting. They let in so much ambient light that it’s almost brighter on a sunny day than having lights. So that’s a huge benefit.”
Design Tip: Maximize natural light with strategically placed skylight panels to reduce artificial lighting needs and create a more open, comfortable workspace.
3. Build the Layout Around Real Workflow
A shop should support your work style, not force projects to adapt to the space. Open layouts allow large projects to move around, while designated zones for fabrication, assembly, and planning improve efficiency and organization. Storage should be placed near work areas to reduce unnecessary movement.
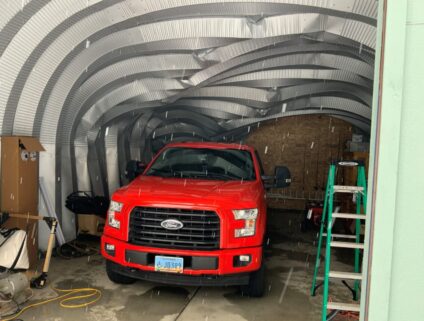
Greg’s column-free interior allowed him to create a block partition wall topped with pallet boards, separating work zones while keeping the space open.
The upper level serves as office space and storage, keeping administrative tasks close to the shop floor. The clear-span design made wiring and lighting easier, using existing attachment points rather than added framing.
Design Tip: Plan zones according to workflow and use clear-span layouts to maximize usable space.
4. Choose a Space That Reflects the Builder
A shop’s design should feel intentional, reflecting the style and personality of the person using it. A space that resonates with the builder encourages pride in the work and creates a positive environment.
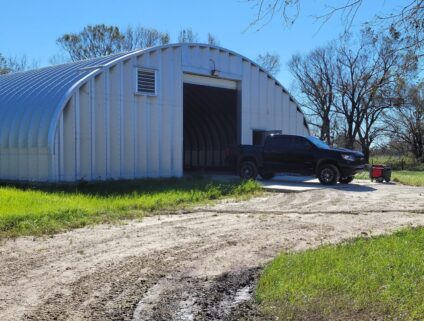
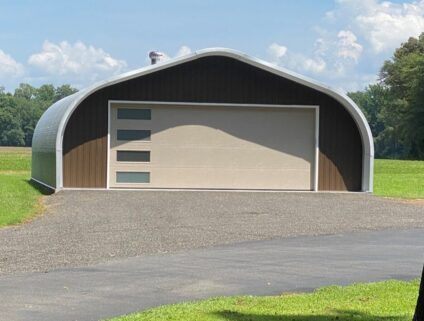
Greg was drawn to a Quonset hut because of its distinctive appearance.
“I like to do things that are different than everything else, so I wanted something that looked different,” he said. “When people come in, lots of people walk through the door, and everybody thinks it looks cool because it’s more unique.”
Design Tip: Select a building style or interior elements that align with your work and personal style.
5. Plan for Change and Growth
As your amount of work evolves, it’s essential to have a shop that can evolve too. Expandable designs protect the investment and reduce the need for replacement as needs change.
As his business grows, Greg plans to extend his shop by 30 to 50 feet rather than relocate.
He credits the ease of assembly and adaptable design for making future expansion a reality. Much of the original build was completed on the ground using a single bolt size, turning installation into an easy, hands-on process.
“At the time, my 7-year-old was out here helping. He’d get on one side and hold the bolts in place while I screwed nuts on,” he said. “It’s basically an adult erector set.”
Related articles

The Stories Behind the 2025 SteelMaster Buildings Calendar

Customer Uses Quonset Hut to Protect Cars From the New England Winters

Man Assembles Outbuilding Garage to Match Property
Storage Building Survives Hurricane Ian
Quonset Hut Garage: Functional Storage Meets Unique Design

Quonset Hut Garage Gives Utilitarian Design a Modern Twist
Stunning Quonset Hut Apartment with Garage in Florida

Unique Steel Auto Shop in Puerto Rico
SteelMaster Quonset Hut Saves Man’s Truck from Fallen Tree